Start Modding Today
Sign up for a 7-day free trial, you can cancel anytime.
We aspire to be a professional solution for Occupational Therapists, and we take all feedback on board!
Design simple and complex rails by following this tutorial.
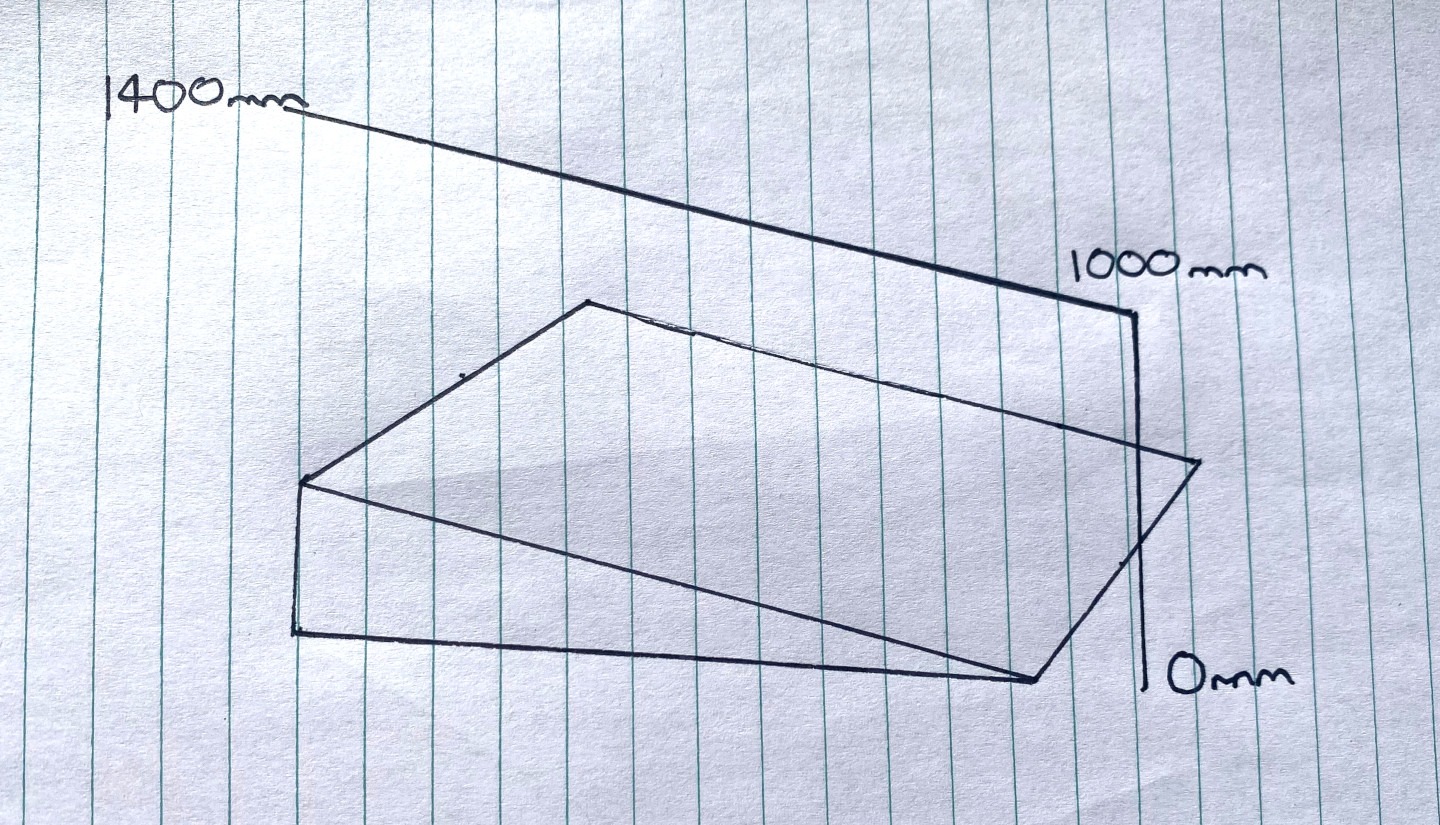
Rails are a difficult object to draw, as there can be infinite different variations. To draw accurate rails, it’s best to plan (on pen and paper) the following
With this in mind, it is a matter of drawing a line between these points.
It is much easier to draw any floor plan or modification using a bird’s eye view. The next steps are:
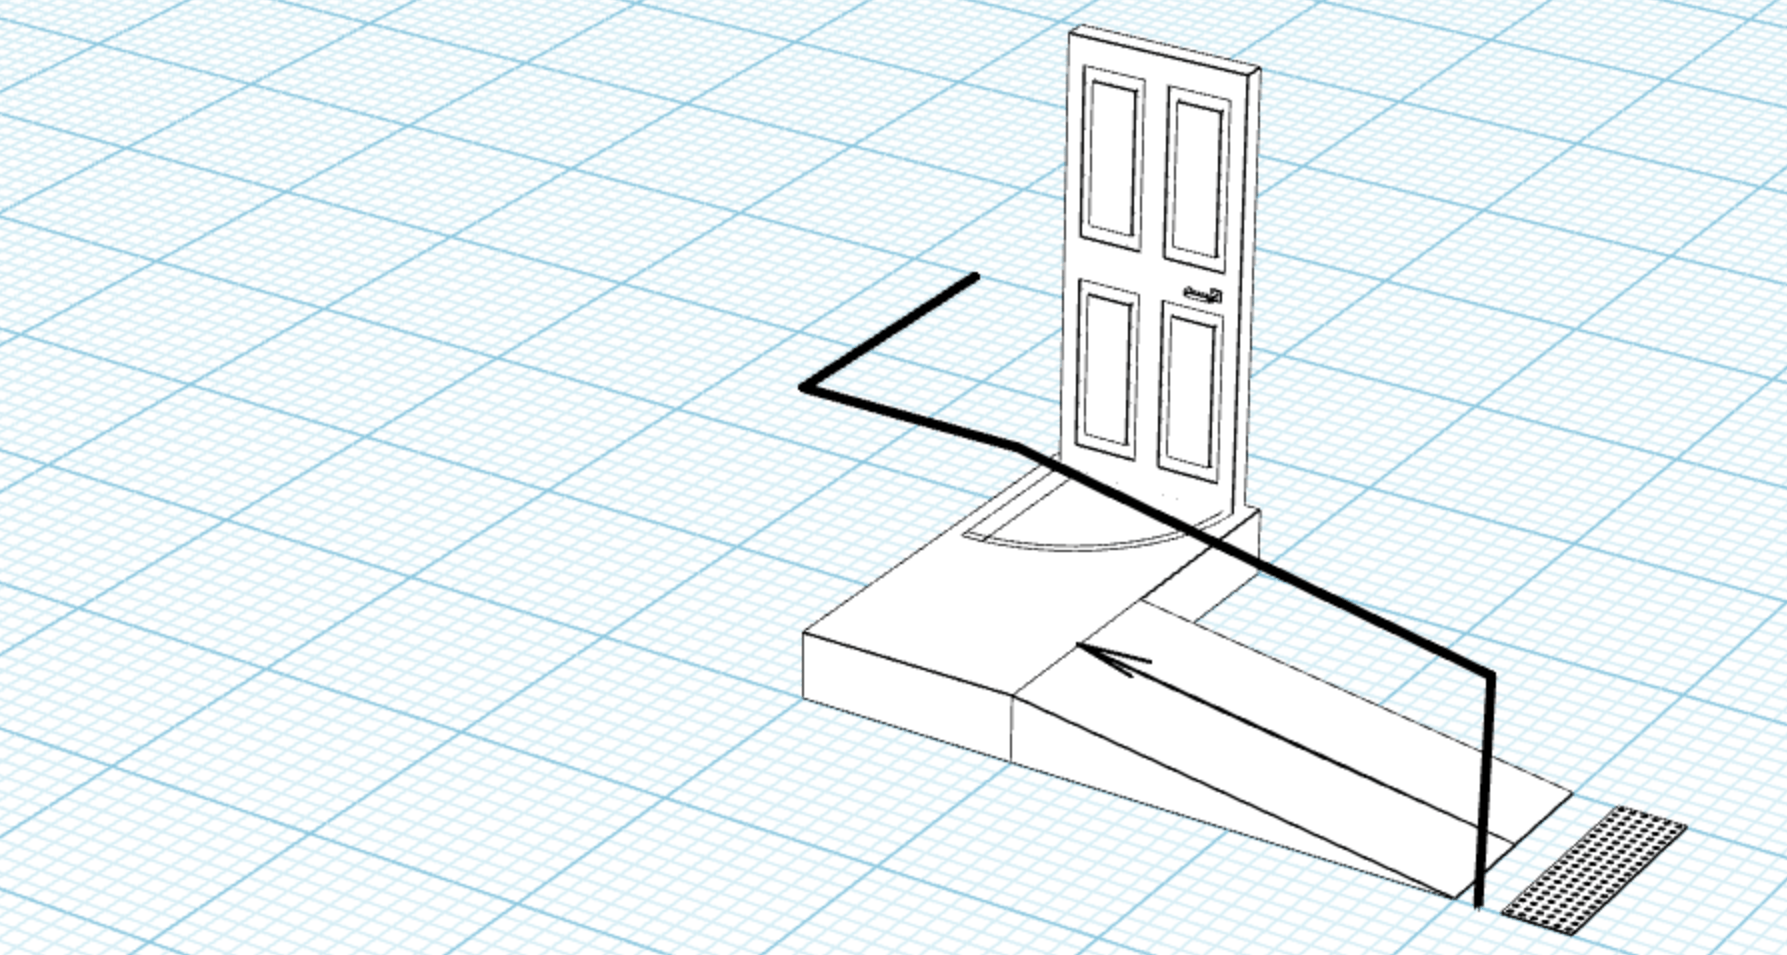
Once the top view has been successfully drawn, it should directly translate into a 3D perspective.
For Moddy users, the 3D drawing is automatically generated from the top view design.
The challenge with drawing rails in 3d is that it is difficult to gauge the depth of an environment. As such, it is our create the rails in 2d only, and simply export the 3D diagram as required.
Moddy software allows Occupational Therapists to design rails of any specification.
Our software is suitable for professional home mod OTs looking to design accurate modifications.
Get started with your 7-day free trial today, have fun changing the world!
Sign up for a 7-day free trial, you can cancel anytime.
We aspire to be a professional solution for Occupational Therapists, and we take all feedback on board!