Start Modding Today
Sign up for a 7-day free trial, you can cancel anytime.
We aspire to be a professional solution for Occupational Therapists, and we take all feedback on board!
This tutorial covers how to draw general floor plans.
Room Tool (2, 3 or 4 Sided Wall):
The room tool allows users to quickly add predefined rooms with 2,3 or 4 walls.
This is particularly useful for quickly sketching out standard room shapes.
Users can adjust the dimensions of the entire room, making it easy to modify the size of each wall simultaneously.
Singular Wall Tool (1 Sided Wall):
The singular wall tool enables users to draw individual walls one by one.
This is ideal for creating custom shapes and layouts that do not conform to standard room dimensions.
Each wall’s length, height, and position can be adjusted independently, providing maximum flexibility.

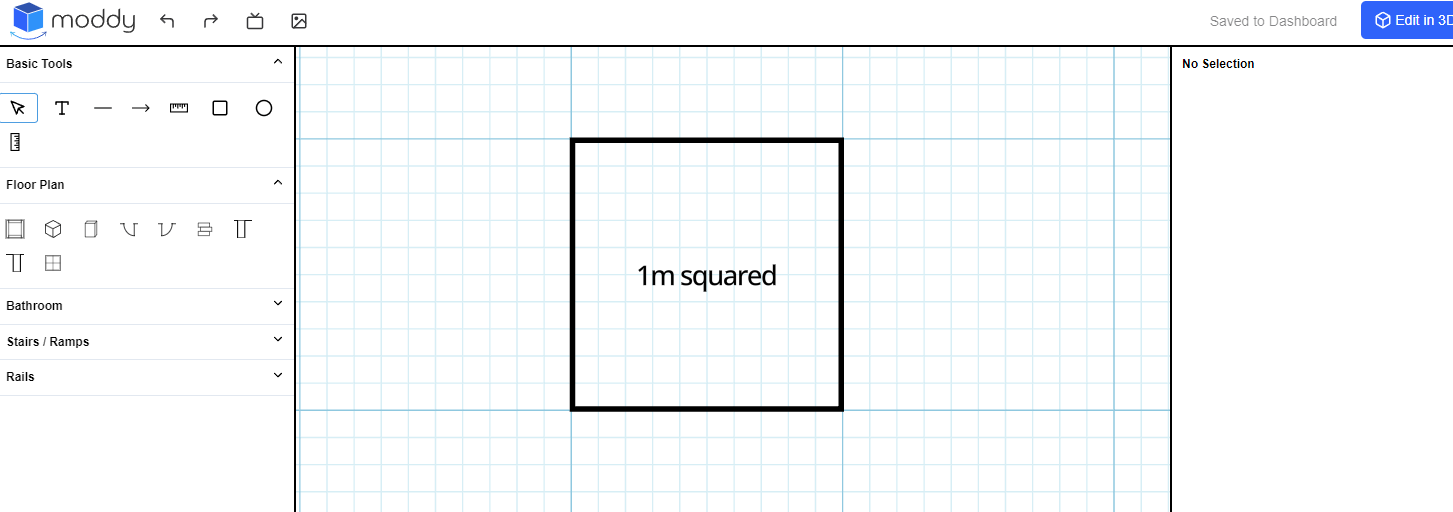
The canvas features a grid system with 1-meter squared boxes.
This grid helps users align and position walls and other elements accurately, ensuring consistency and precision in the floor plan.
Adjusting Wall Dimensions
Users can modify the length, width, height, and elevation of each wall.
This allows for the creation of walls of varying sizes and positions, accommodating different architectural designs and needs.
Flat Access Areas
Flat access areas, such as doorways and open spaces, can be indicated using 2D rectangles.
This helps in planning the layout and ensuring accessibility within the floor plan.
Perimeter Measurement:

A measurement tool is available to calculate the perimeter of the floor plan. This is useful for understanding the total boundary length and for planning materials and resources.
Vertical Measurement:
The height of walls can be measured using a vertical measurement tool.
This ensures that all walls meet the required height specifications and helps in visualizing the vertical space within the plan.
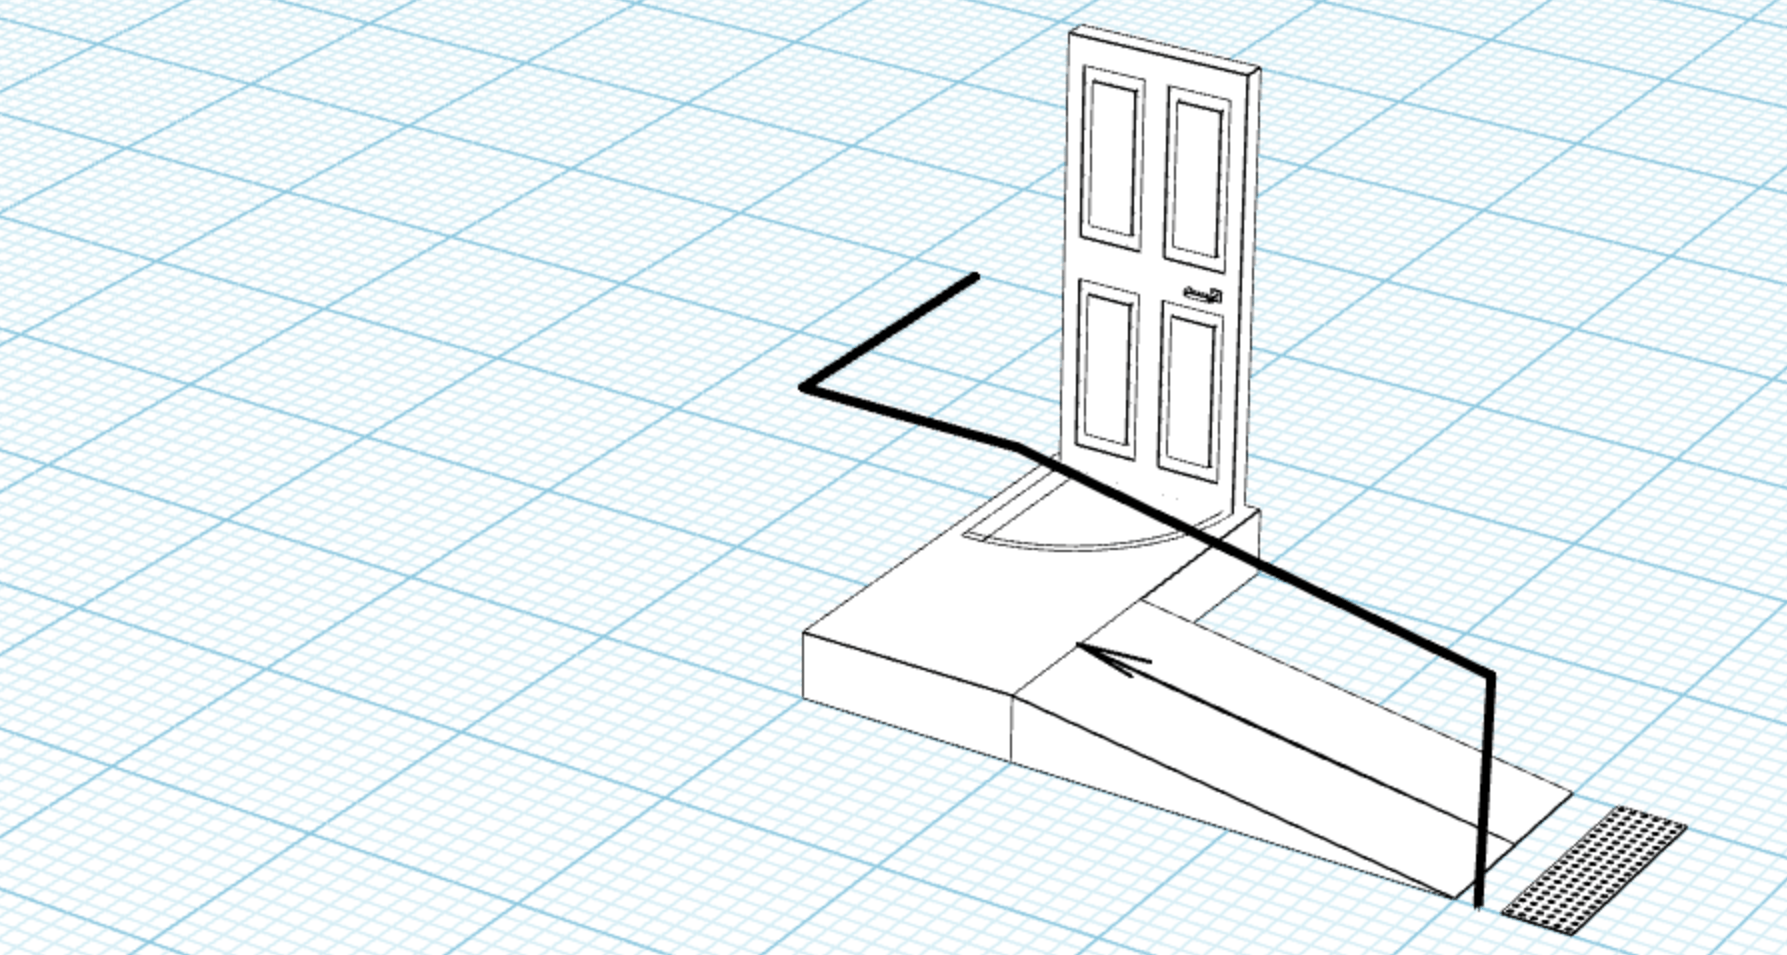
Various types of doors, including standard doors, cavity sliders, and external sliders, can be added to the floor plan.
These doors can be rotated to fit the desired orientation and location within the plan.
Locking Items:
Items can be locked in place to prevent accidental movement.
This is helpful when multiple objects are located near or on top of eachother.
Rotating Items:
Objects within the floor plan can be rotated to achieve the desired alignment.
You can control rotation on the full 0-360 degree spectrum, with a helpful Quick Rotate button to perform 90 degree increments.
Keybinds (up, down, left, right) can be used to fine-tune the position of objects.
This allows for precise control over the placement of objects within the floor plan.
Once the floor plan is complete, it can be exported as an image to your downloads folder on your computer.
This enables OTs to generate simple black and white diagrams to utilise within their reporting.
Sign up for a 7-day free trial, you can cancel anytime.
We aspire to be a professional solution for Occupational Therapists, and we take all feedback on board!